
Tonight I thought I would write up my go to recipe for a cream that I originally made to replace sudocreme in our house, but has now become our go to moisturiser. With only 3 ingredients, this is quick to whip up and super simple to make. This super light, whipped cream just melts into the skin, serving as an effective barrier cream after every nappy change, and effective at both preventing and easing nappy rash.
Unlike some mainstream barrier and nappy creams, this will not impact the quality of cloth nappies or liners. We have also found it amazing for baby massage, or straight after bath time, and even for our own use to soothe dry skin and sun burn. It also made for a surprisingly good lubricant when combing out E.’s head lice earlier this year ~ after several comb throughs with this and the nitty gritty we never saw them again! The cream certainly helped to sooth her itchy scalp afterwards, and had the added bonus of conditioning her hair.
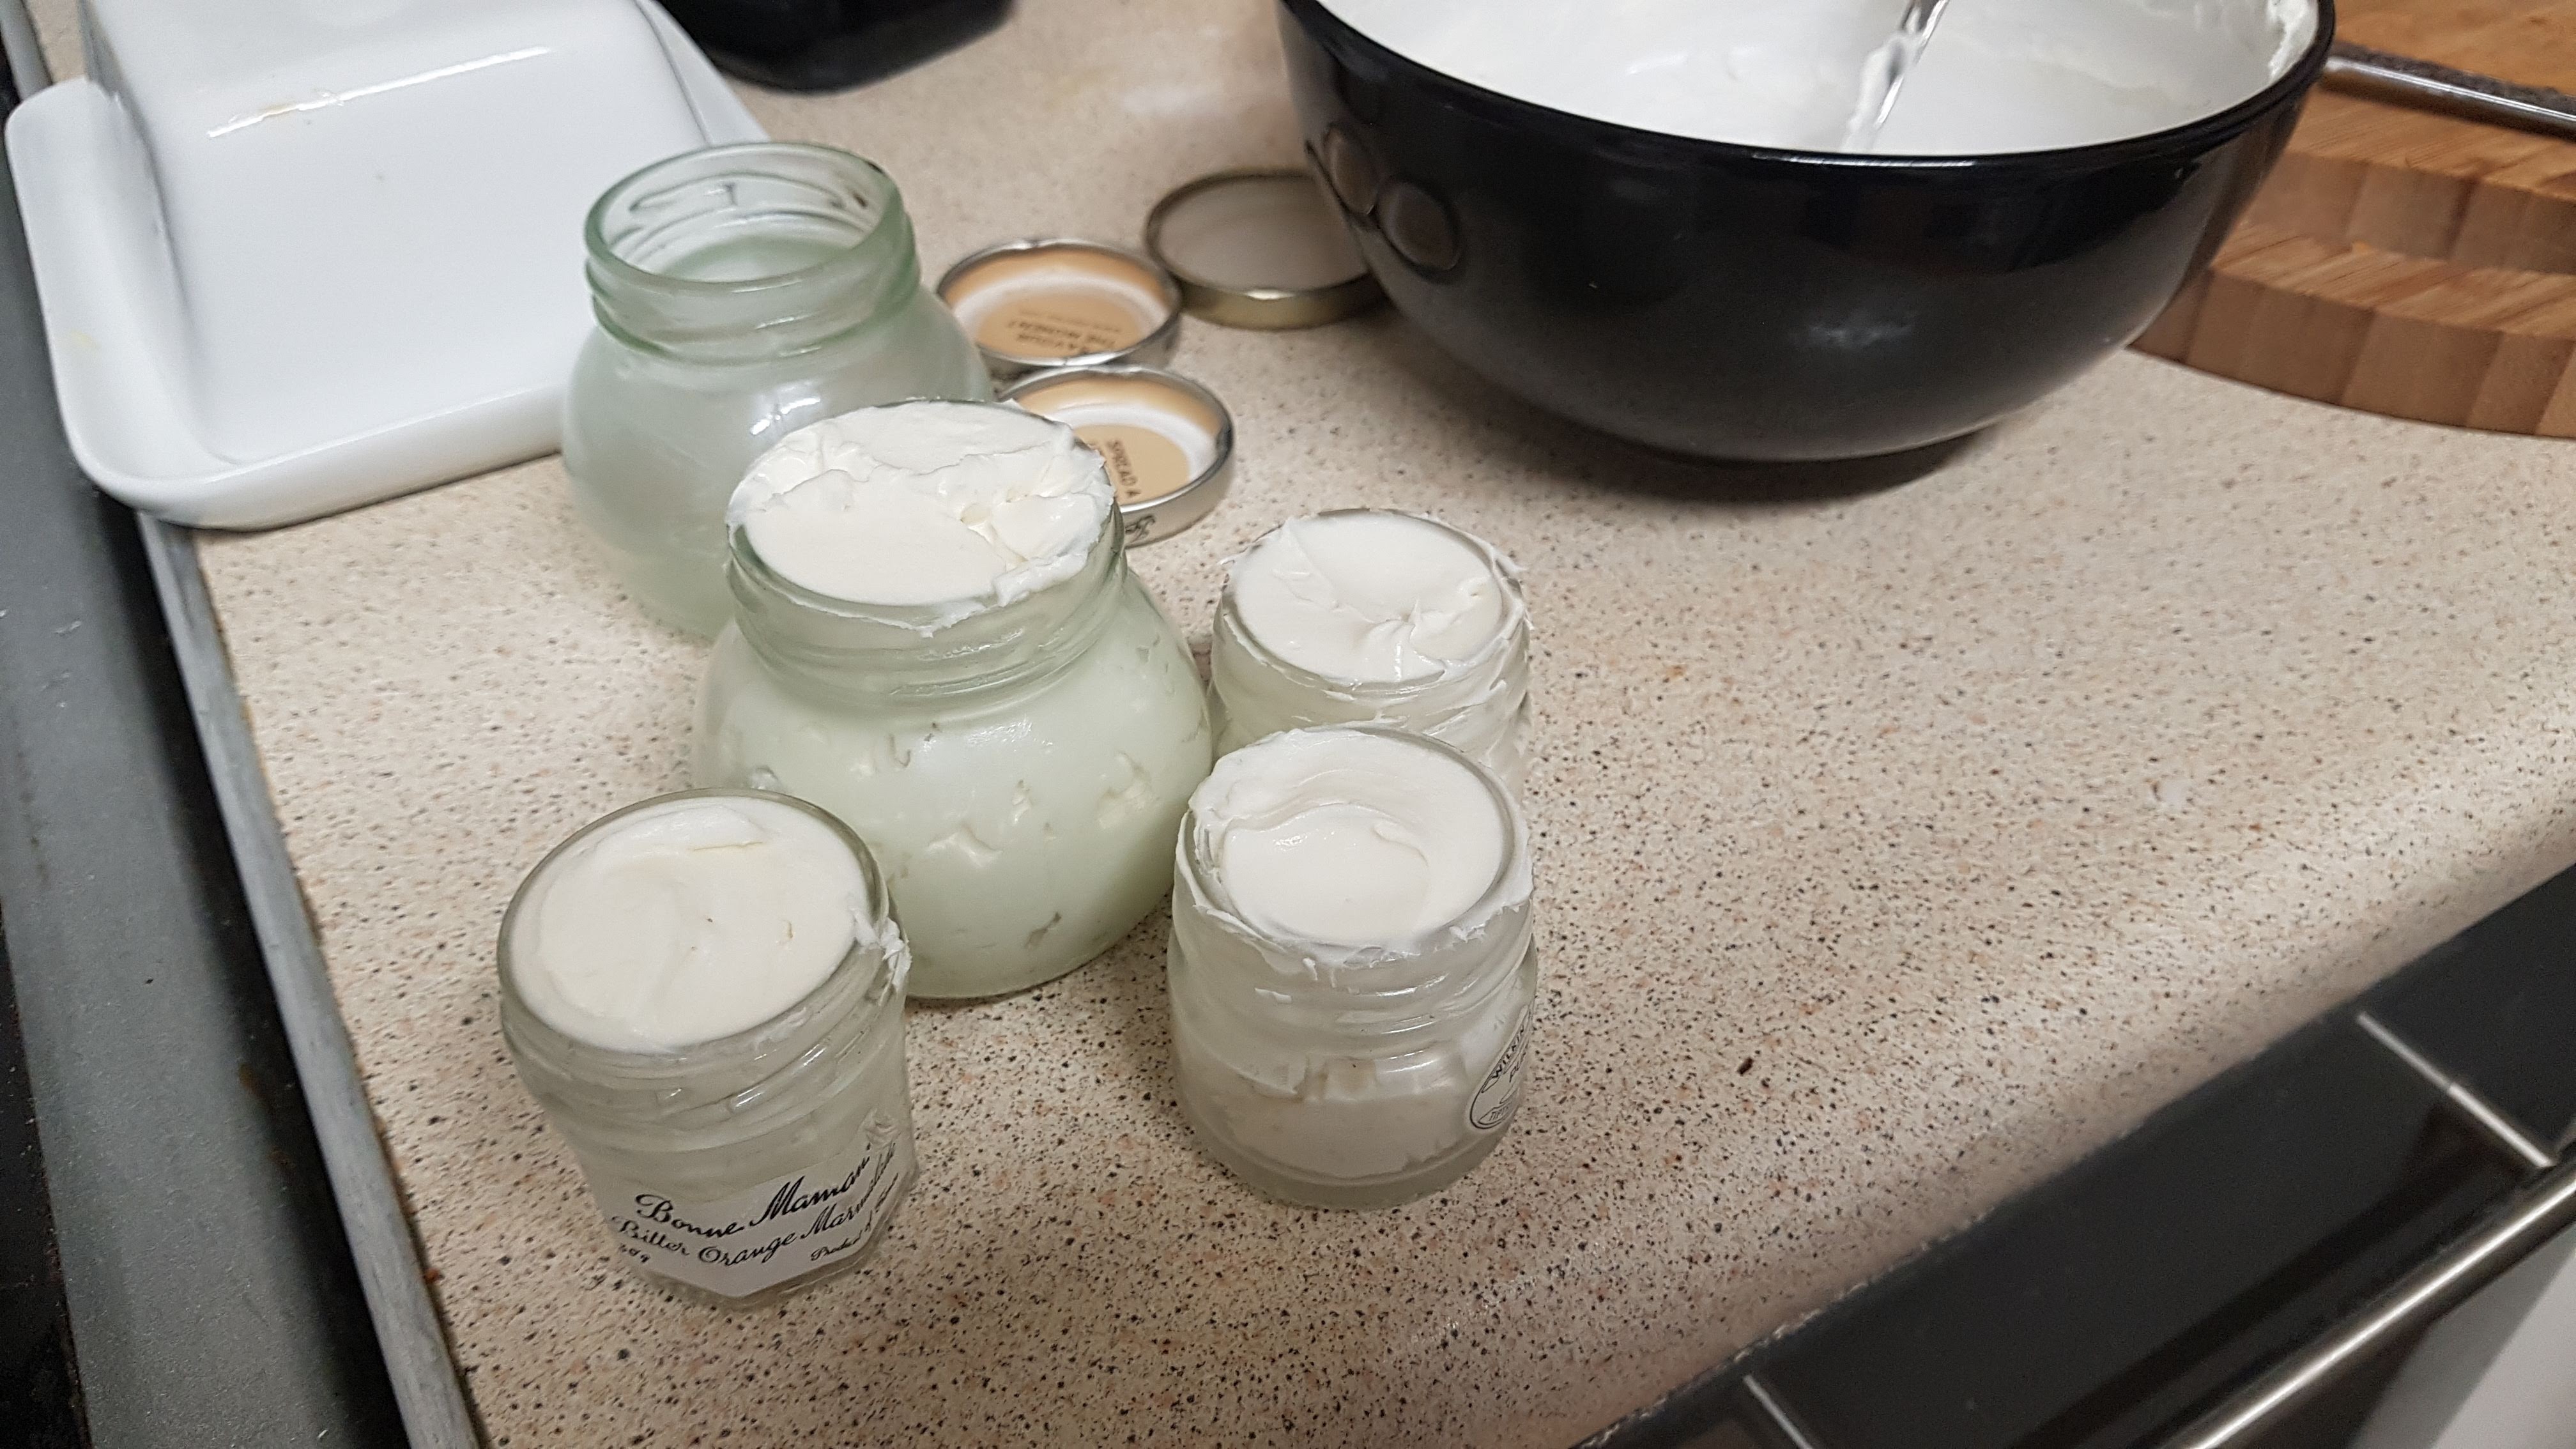
I vary the quantities depending on my available containers (A. loves to hide things), but I tend to fill a small honey jar for everyday, and a couple of jam jars for out and about, and for the other half to take to work. As it gets used every day, I have never had to think about a shelf life, however a jar has knocked around in our nappy bag for a good couple of months and has still been perfectly fine to use with no change to the consistency. You will need to keep the cream away from direct sunlight or heat, as it melts quite easily. I have still smeared it on in its melted form, but it will harden when cooled and no longer have a light, whipped consistency.

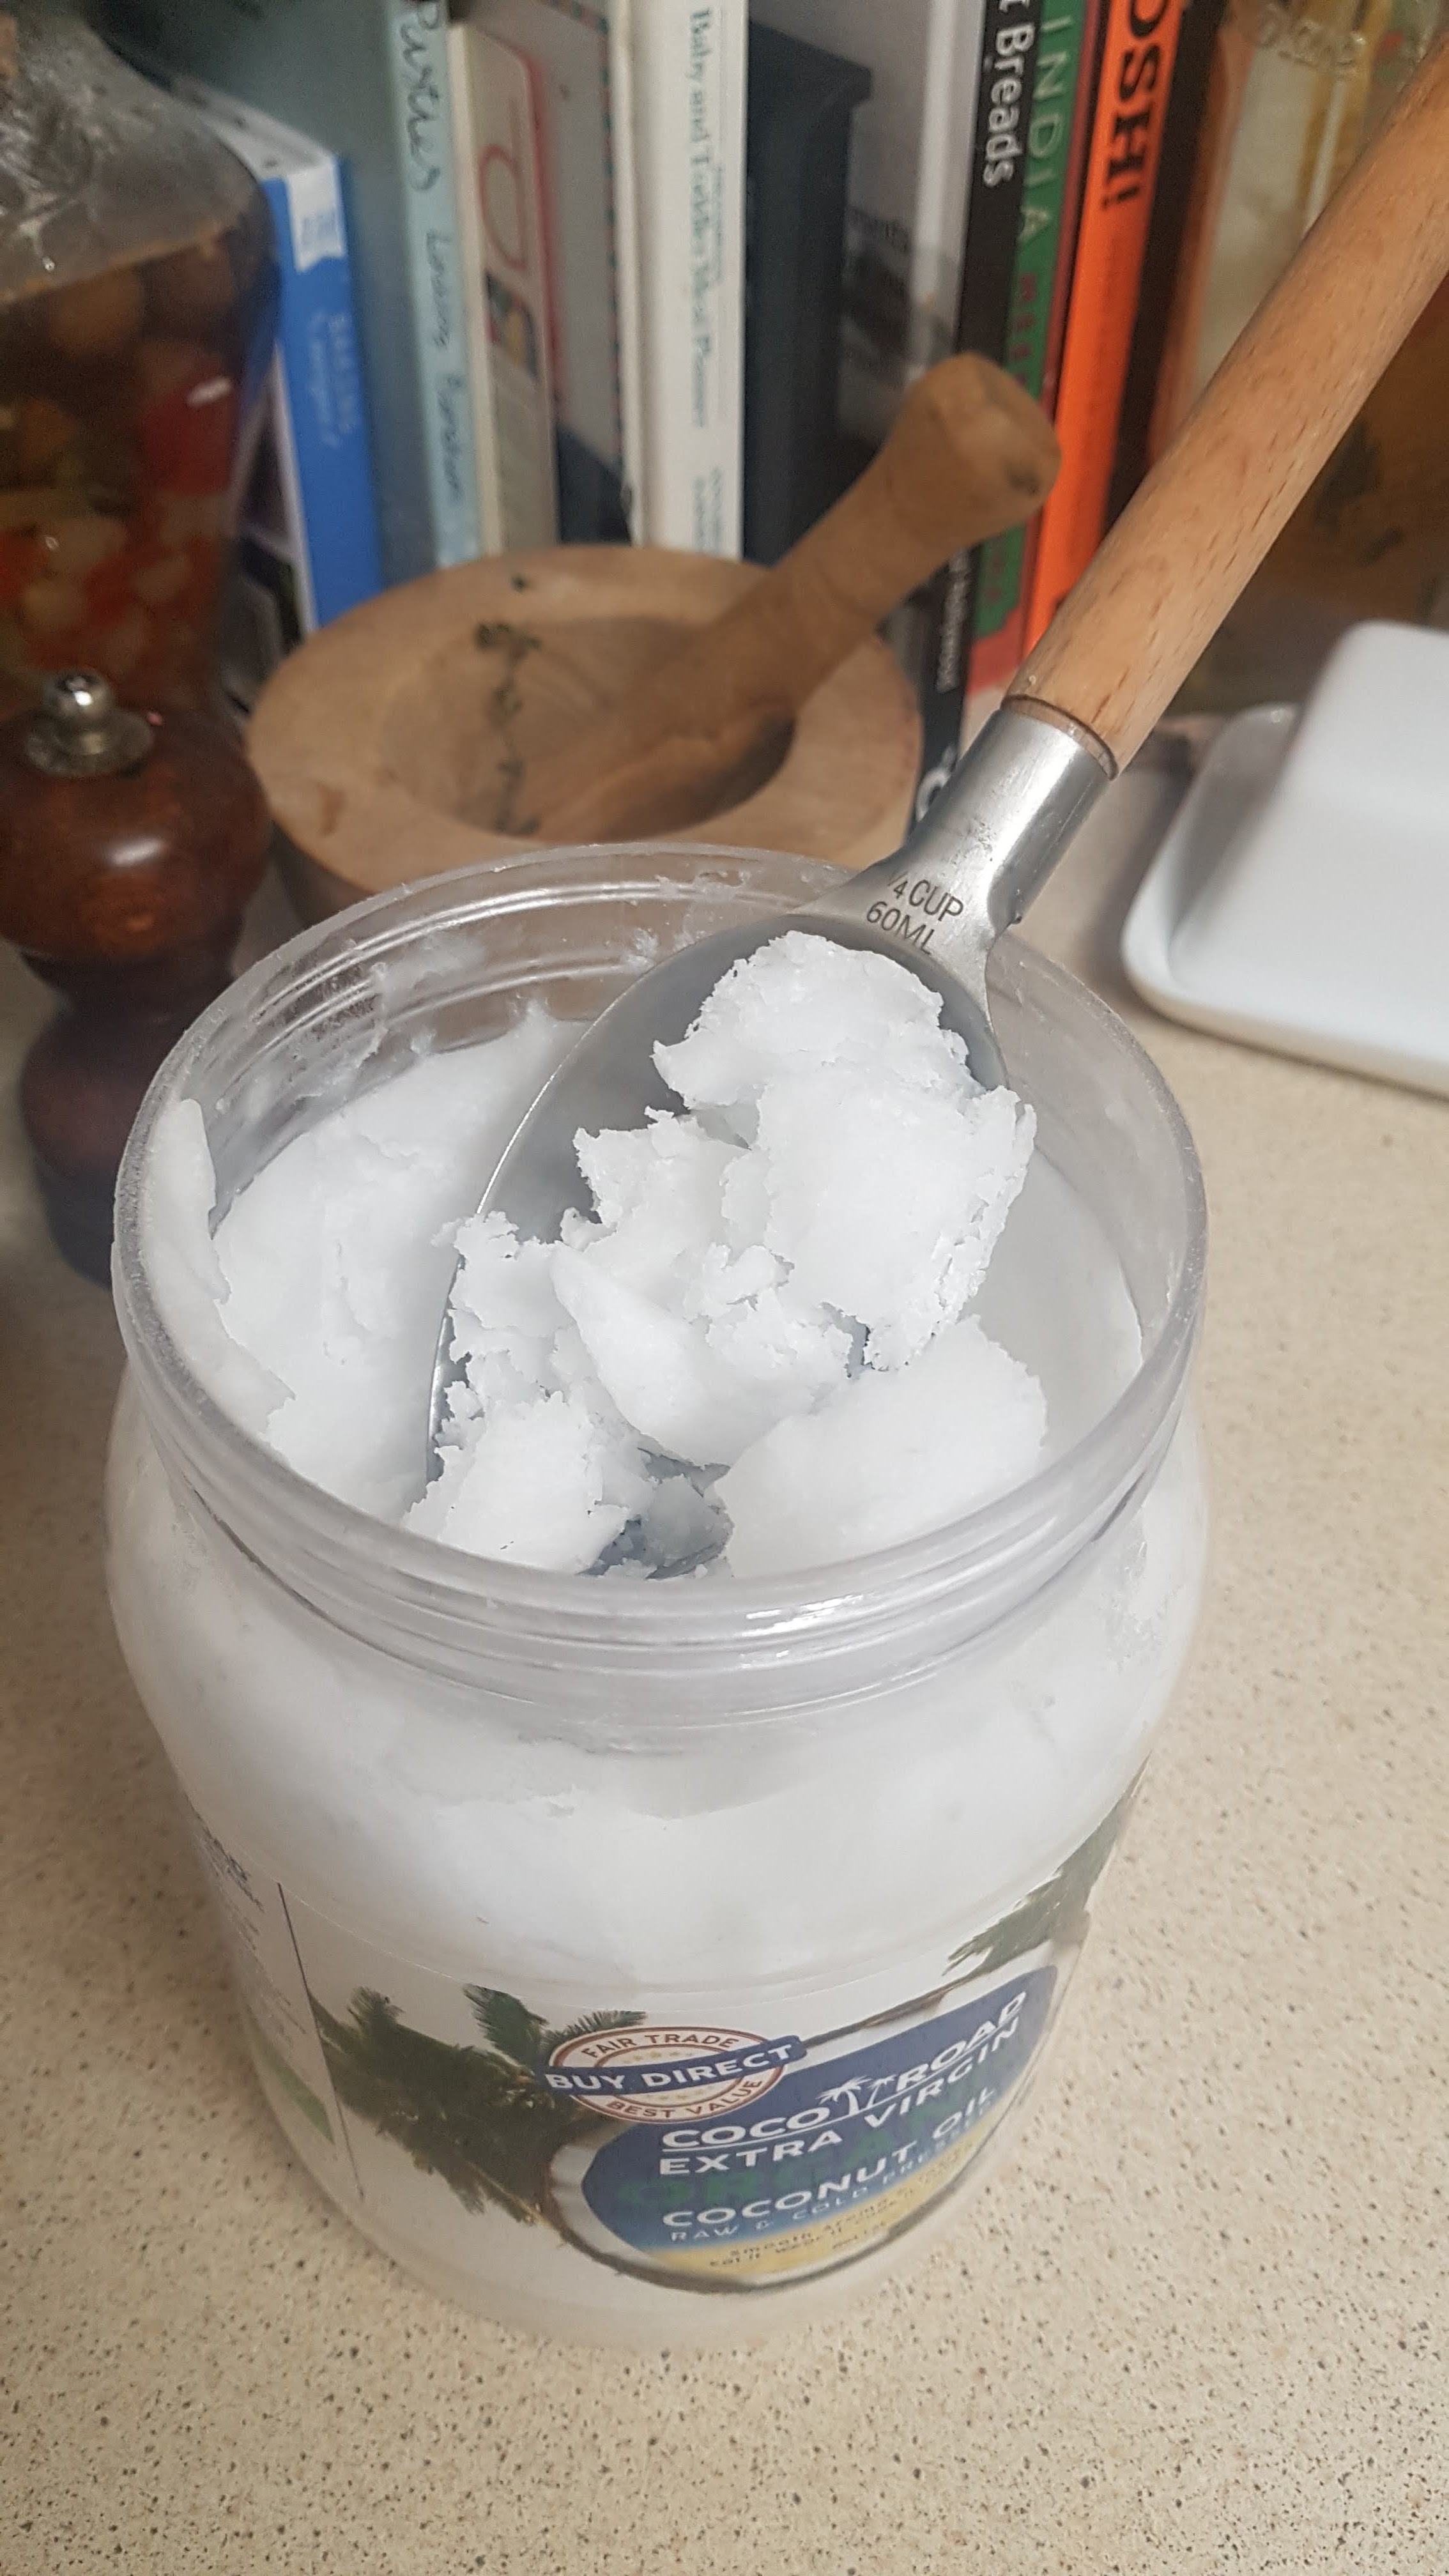

Ingredients: Coconut oil, Shea Butter, Lavender essential oil.
Method: (Most recipes I have researched state to sterilise your jars before using. I shall be honest ~ when making things for my own use I rarely bother with this stage unless it is for consumption, I just make sure that they are well washed out with hot soapy water and dry before using.)
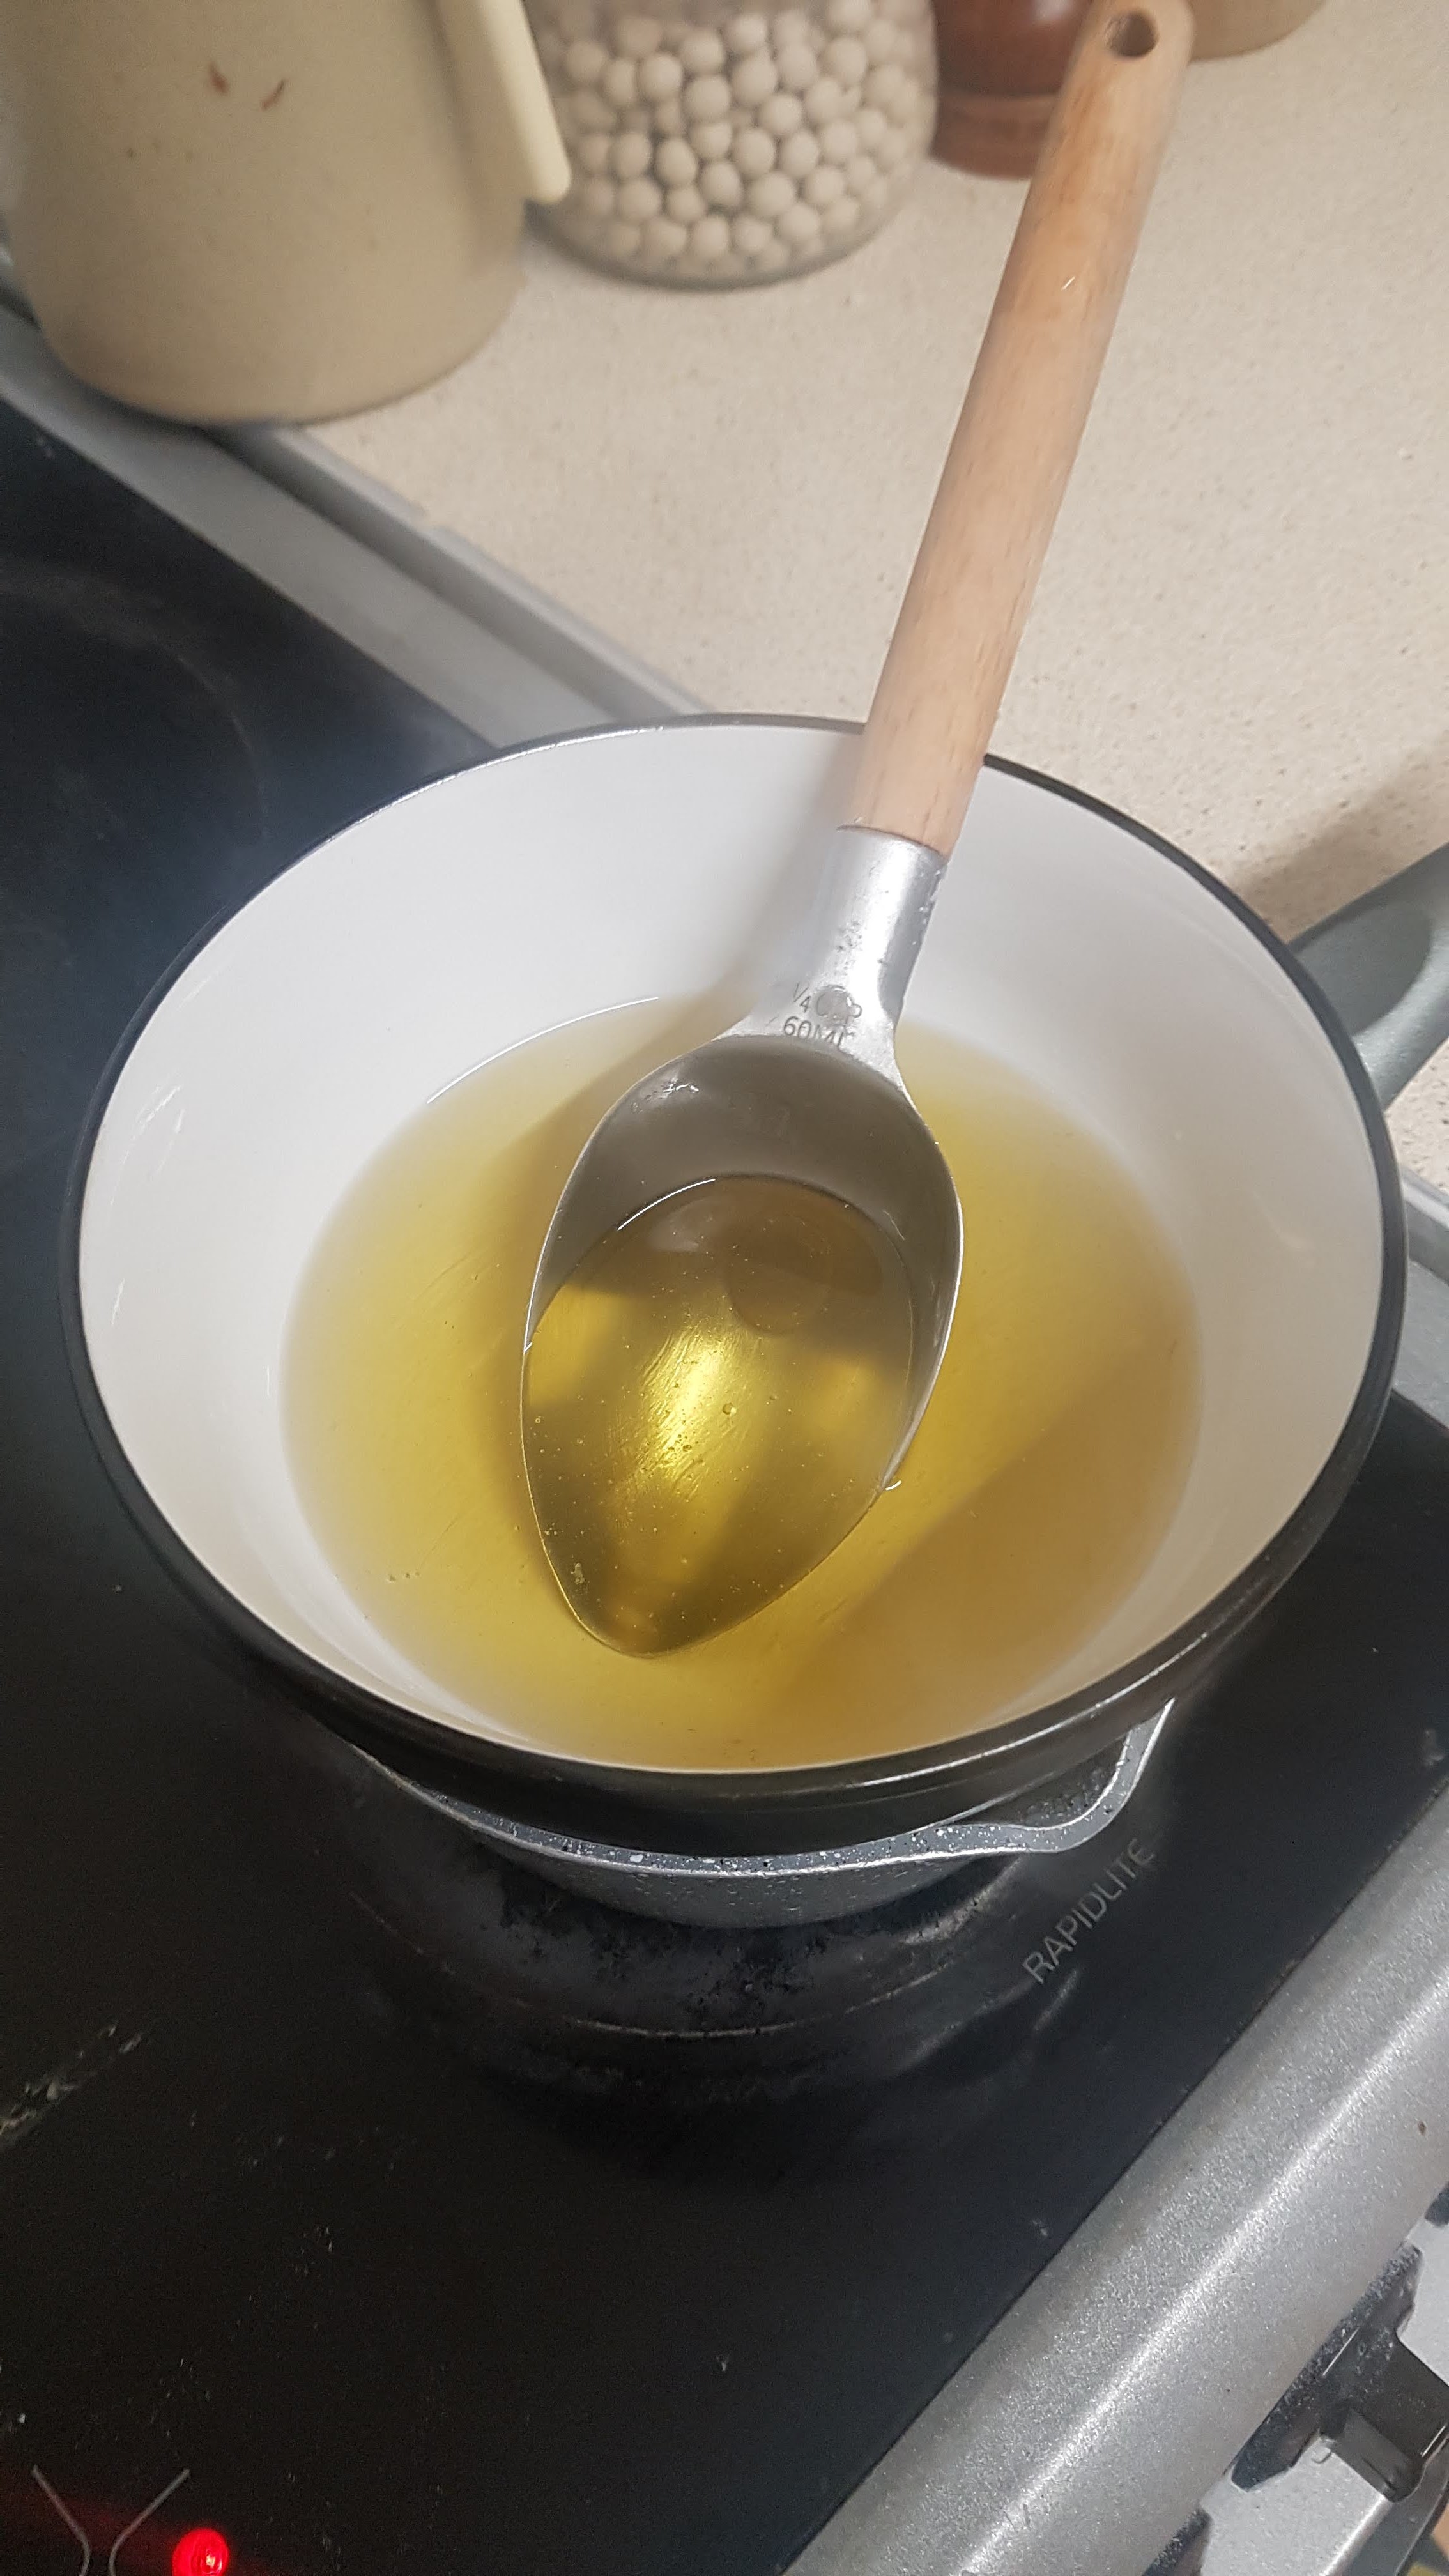
#1 Set a small pan of water to heat on the stove, then weigh out equal quantities of coconut oil and shea butter. (I find 80 grams of each gives me enough for my three jars). Using a heat proof bowl, place over the pan of water so you can melt the oil and butter gently.
#2 Once the oil and the butter have melted, take off the heat and leave to cool. Once it is cooled but hasn’t started to harden, stir in a good few drops of the essential oil of your choice. I use lavender as it is safe to use on baby skin, has antimicrobial properties, and smells divine. Just make sure to note the recommended dilution for the oil you choose.
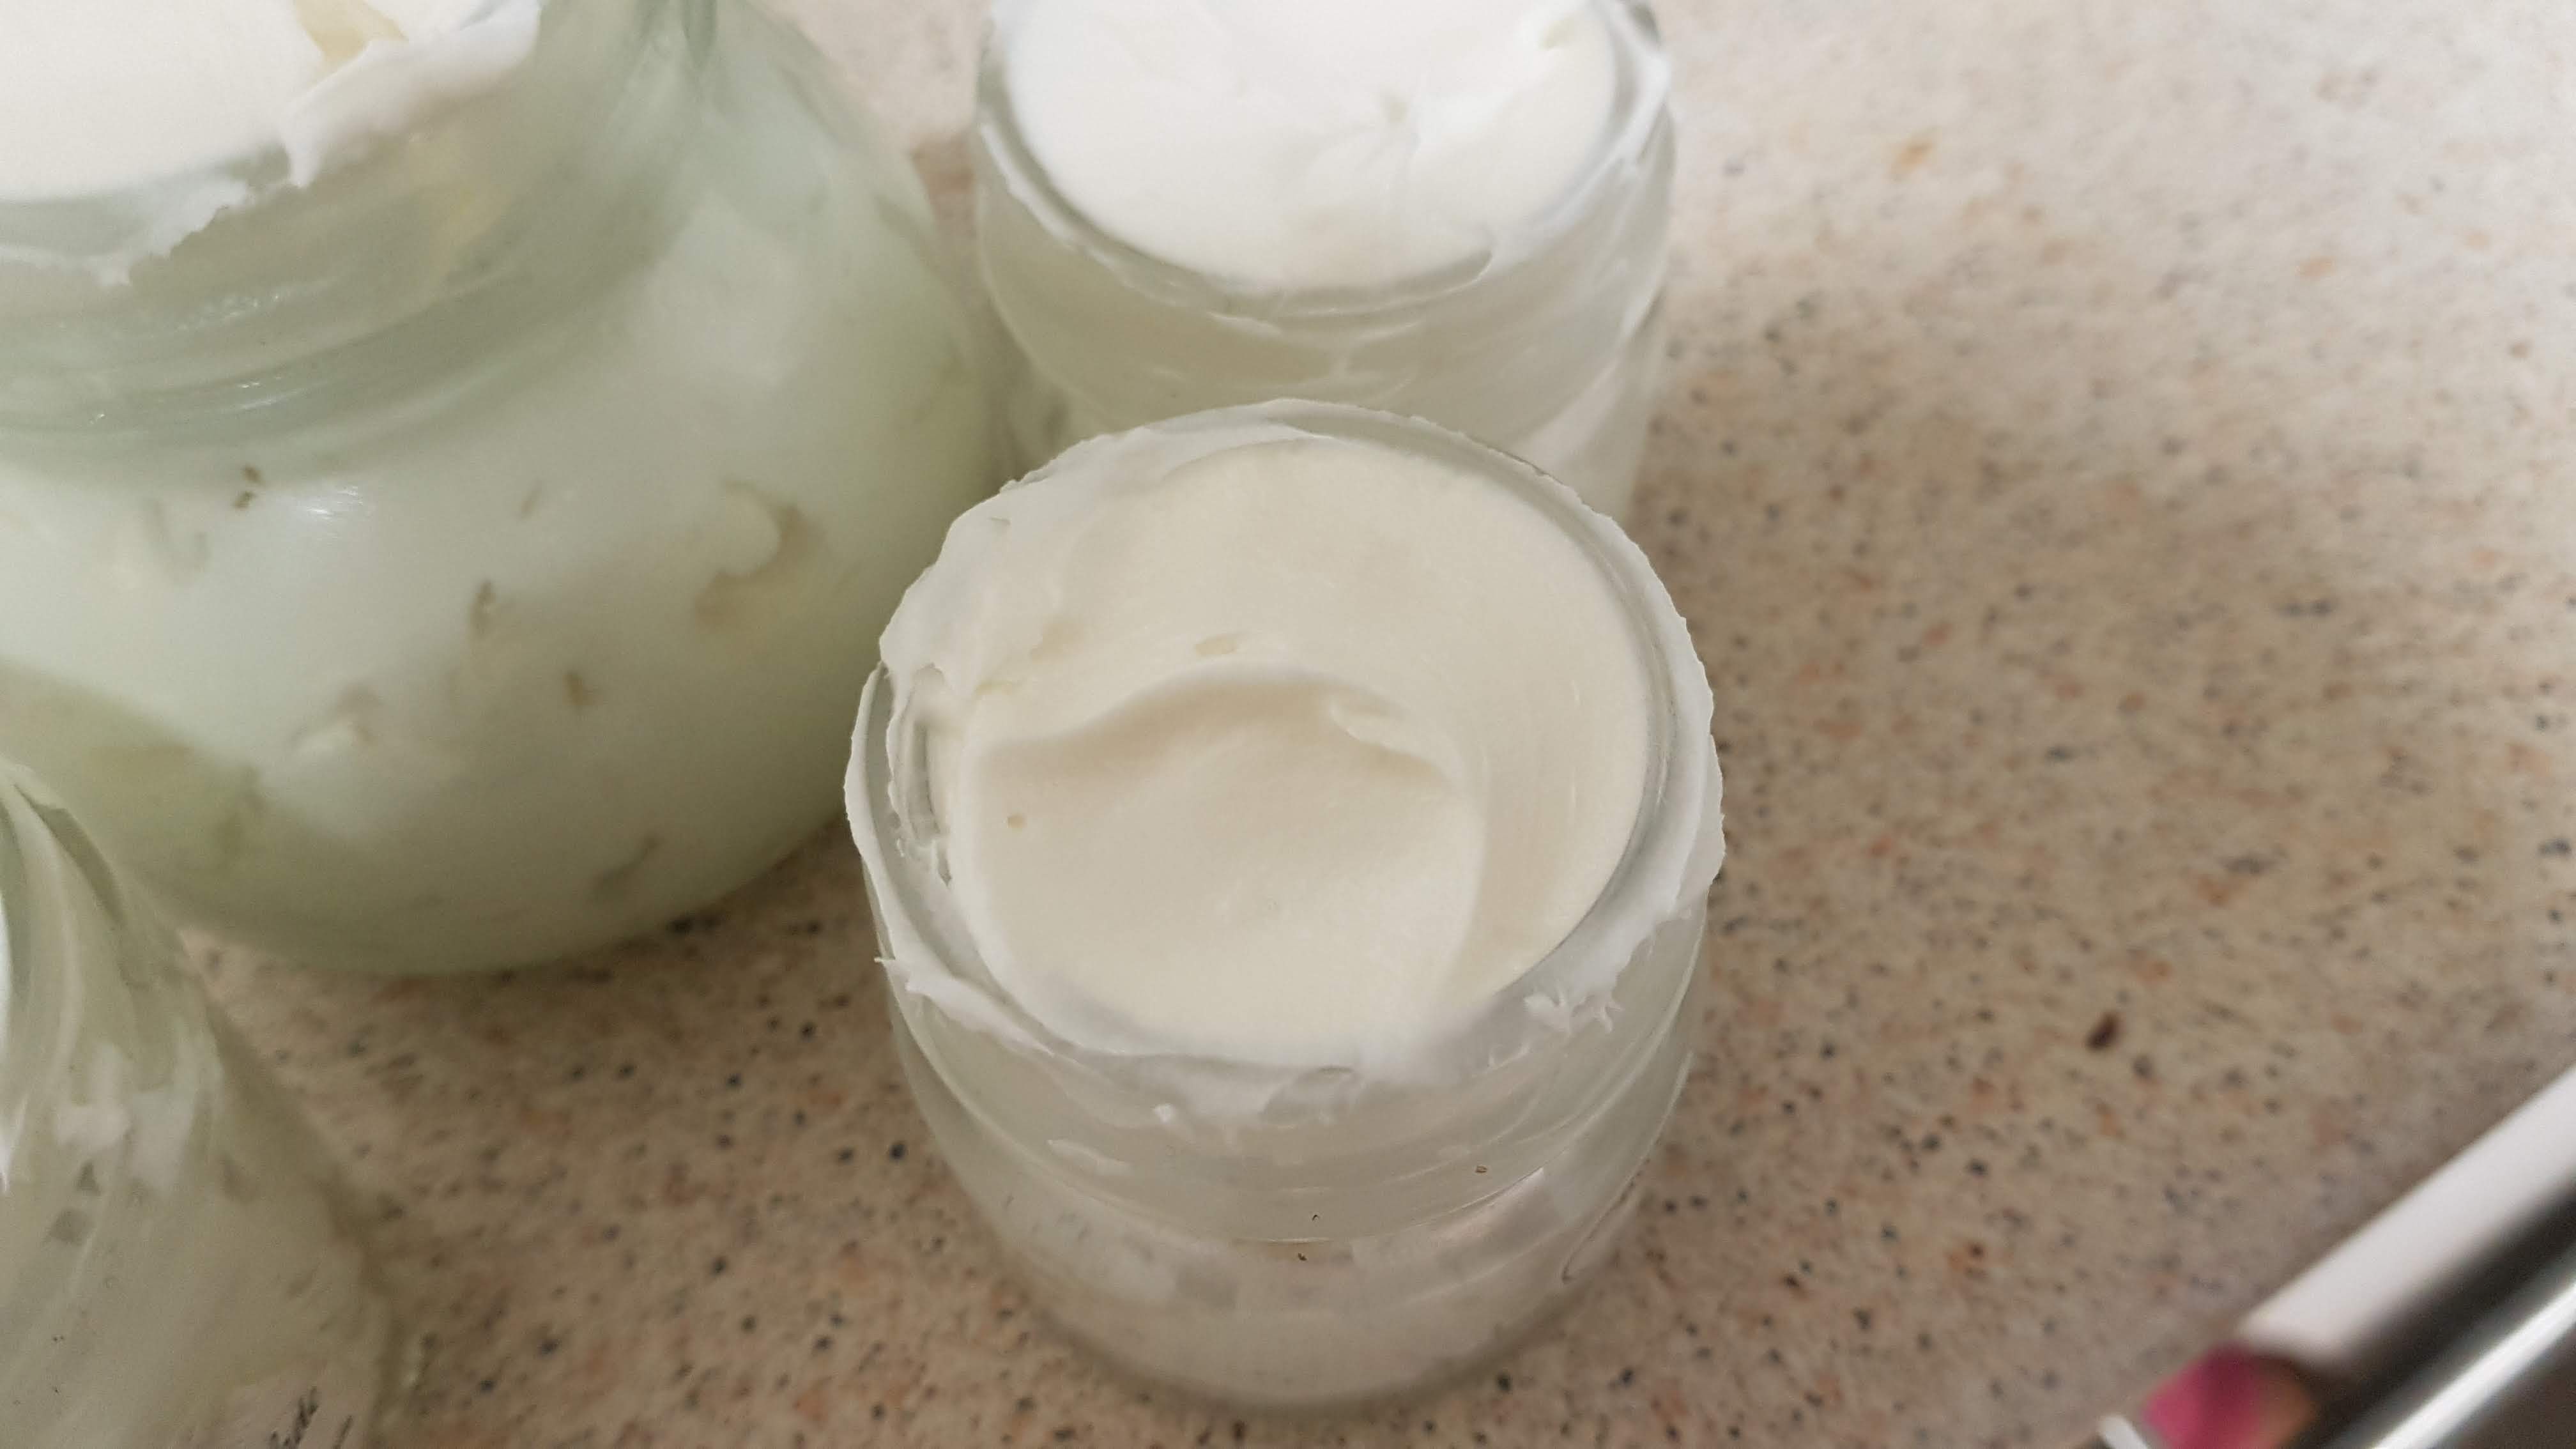
#3 Leave to cool until the mixture starts to solidify. (I tend to leave it over night, but to speed up the process you can place it in the fridge.) Using an electric whisk, whip the mixture until it whips up into a creamy consistency and lightens in colour.
*please note; I have left this hardening in a bowl for several days, and after breaking it up with a spoon, have still been able to whip it into a cream, it just feels a bit grainy before applying. **I have also had my mixer blow up on me and have whipped this by hand with a whisk (think meringue making before electricity) and it still made a fine batch, it just took a while!
#4 Spoon in to jars of your choice. (I have been known to use an old playdough tub when all other means of storage had unexplainedly vanished into the ether).
Enjoy! I hope you find this as easy to make as I do. I found it opened up a whole world of plastic free possibilities!
